
Pool Circulation System - A General Check Up
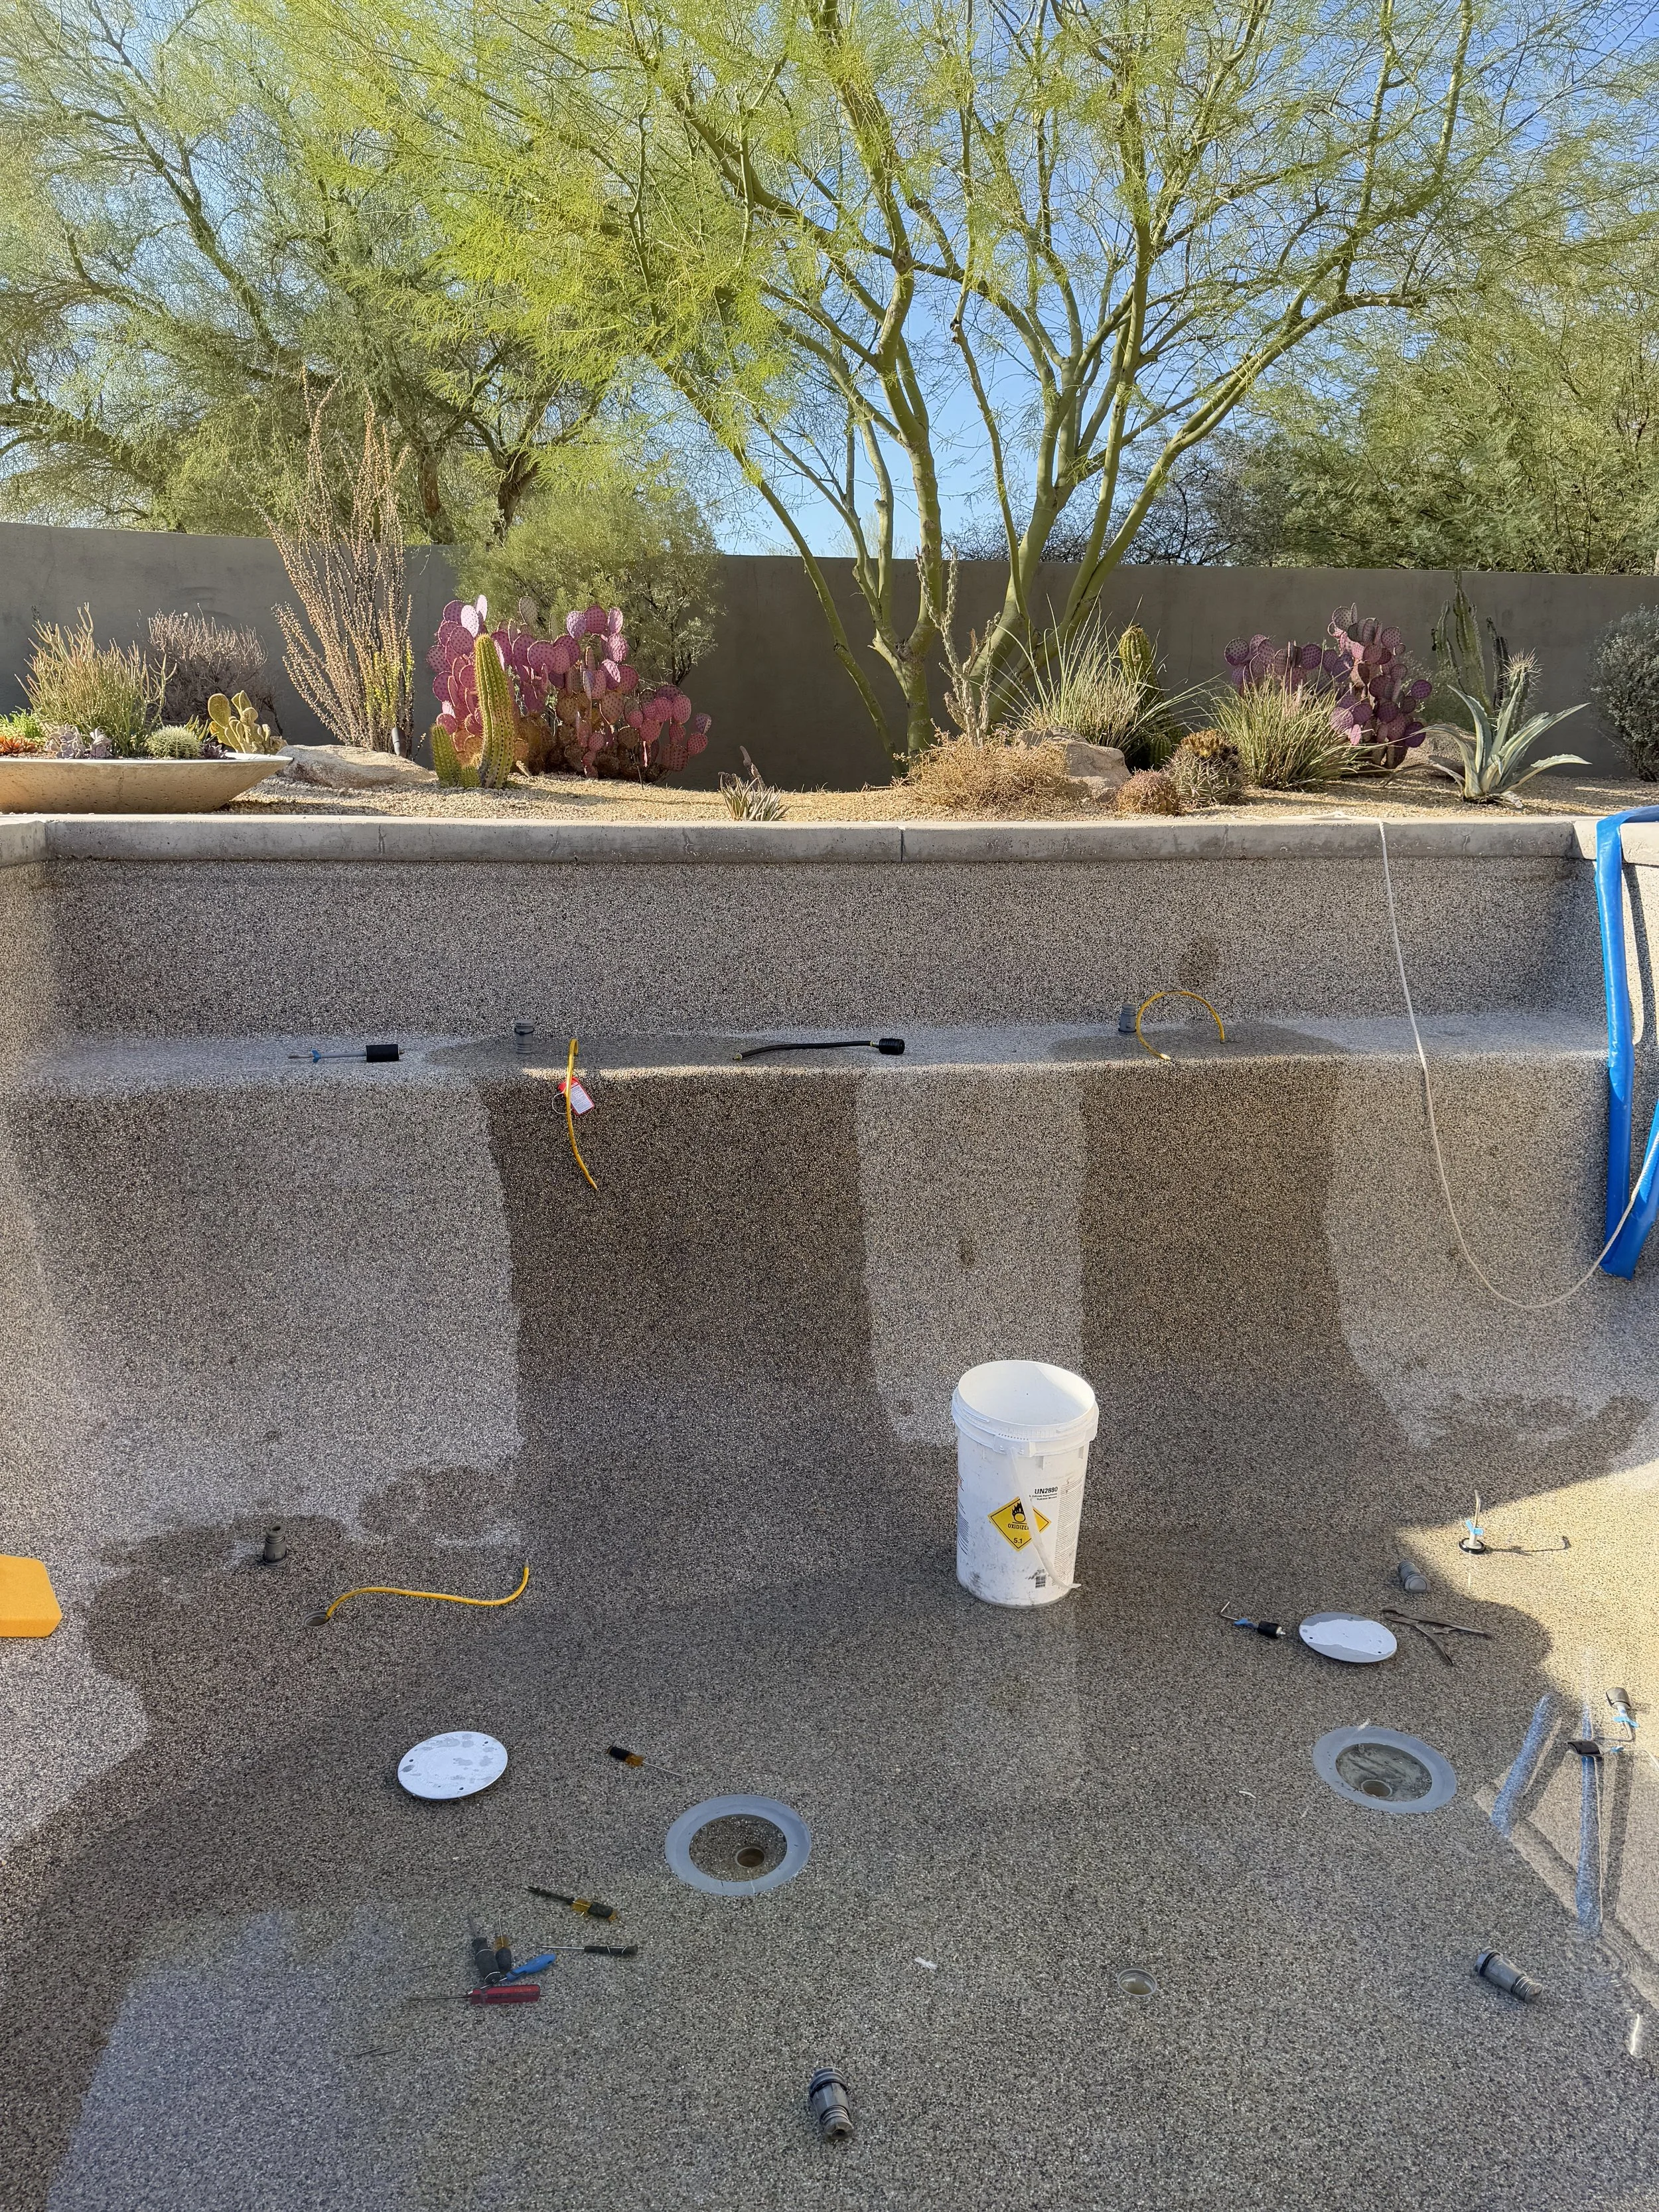
Pressure Test
If ever you have the suspicion of a leak, a pressure test is the first step towards determining if the leak is coming from your pool’s surrounding structure or the pipes. In this example, the pool had an infloor cleaning system, as such we had to drain the pool and plug each pop-up head and test each line using the water valve.
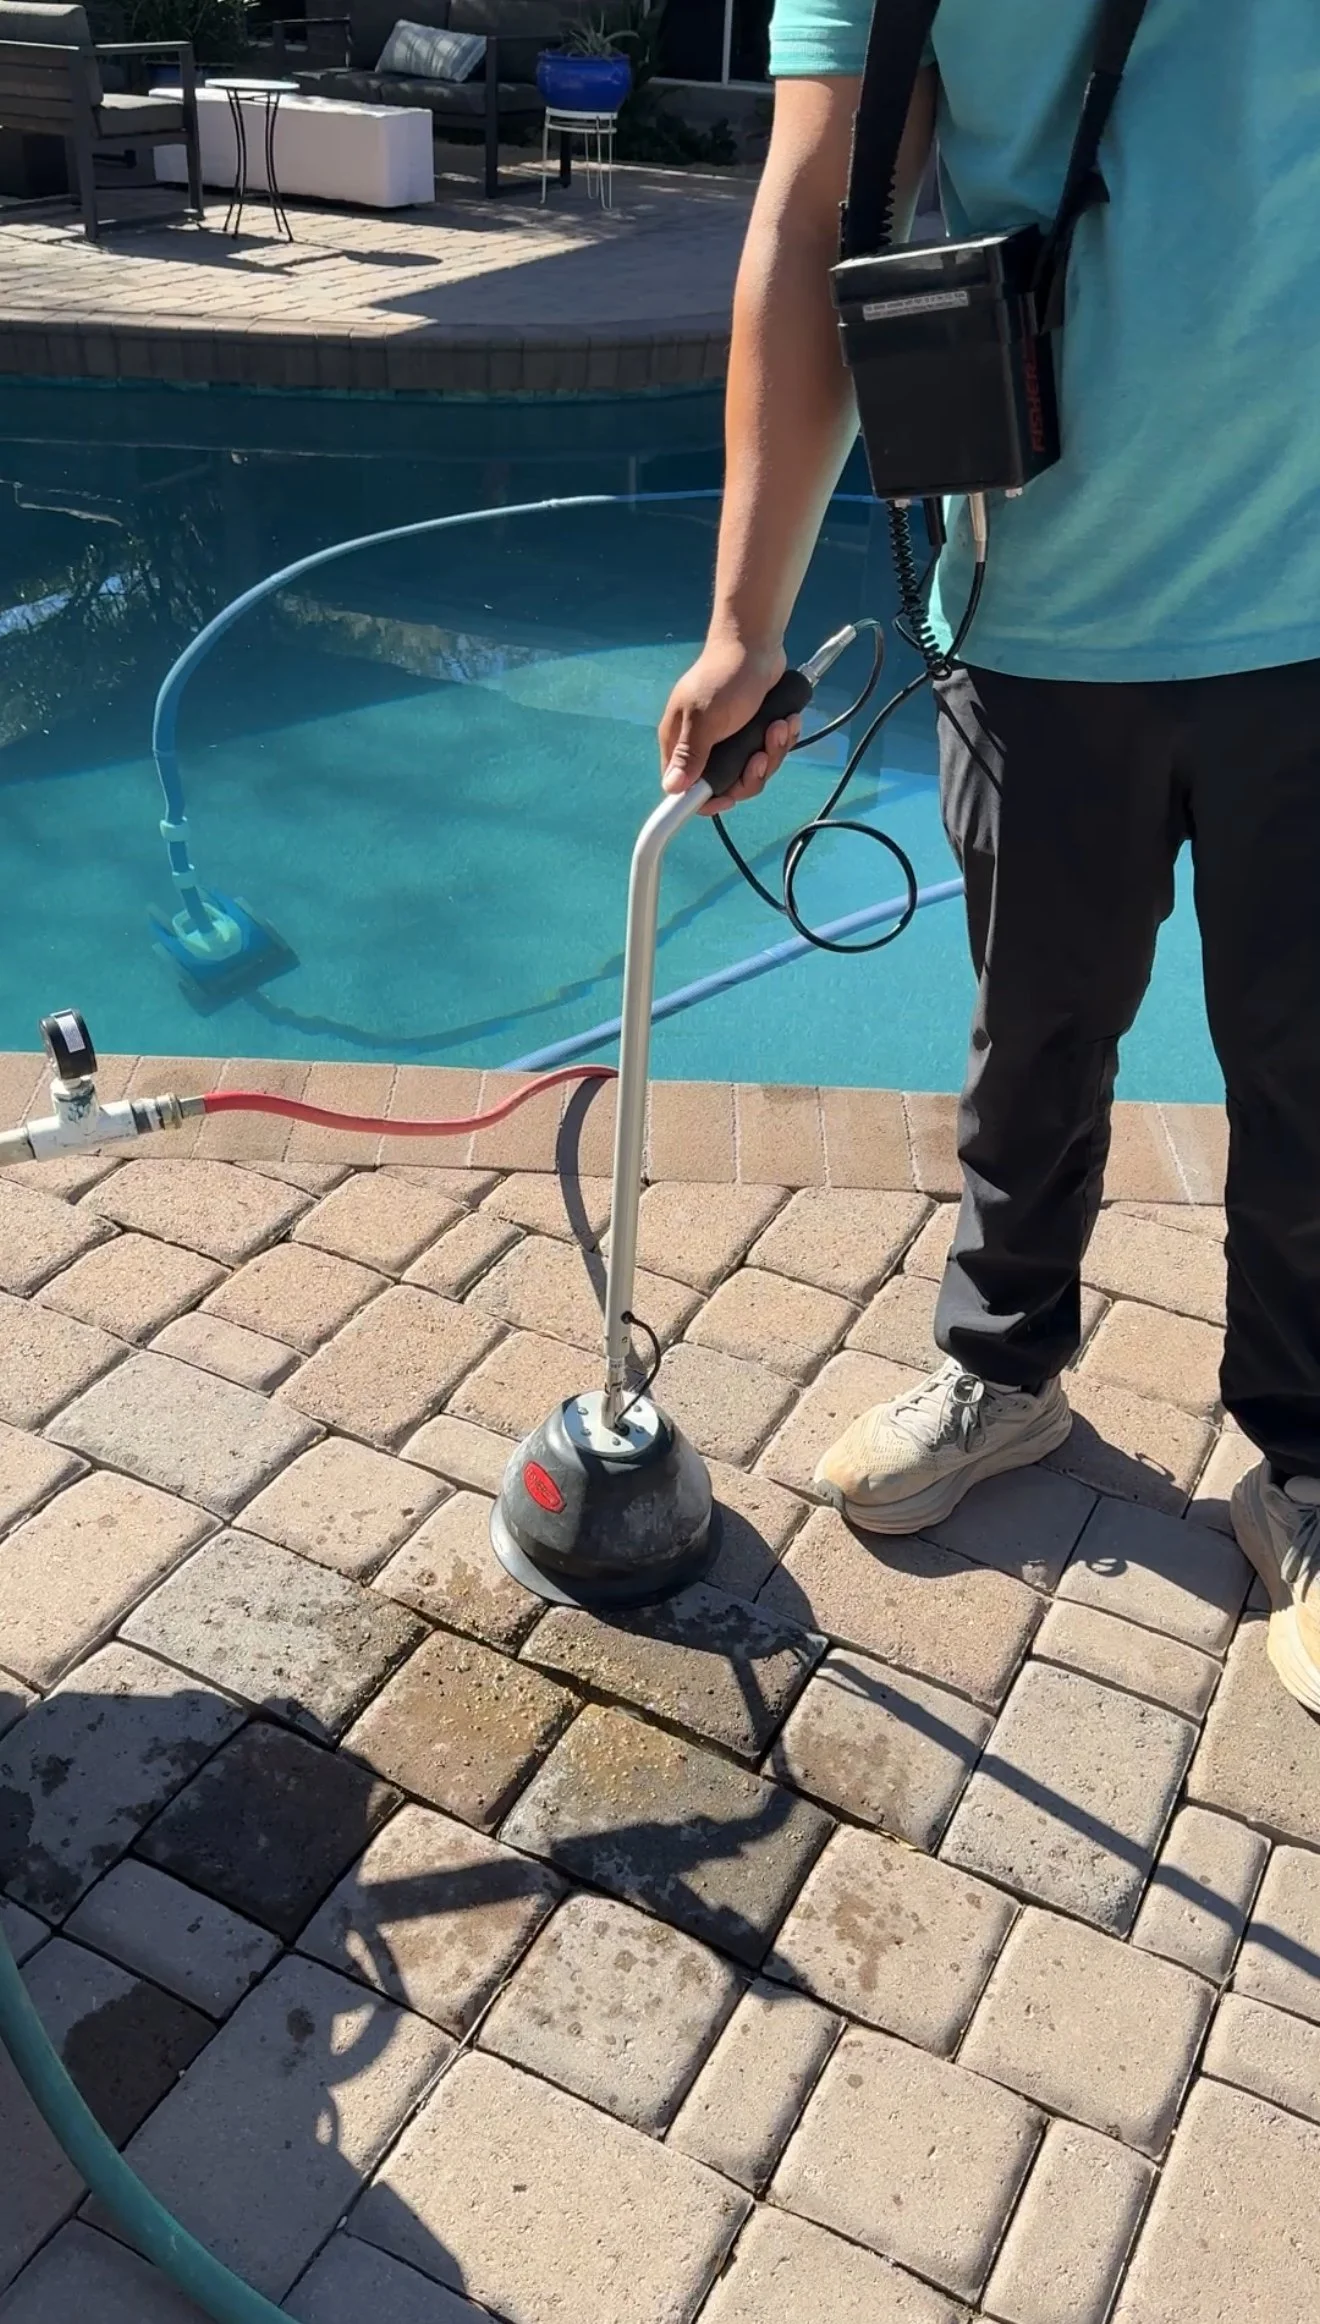
Leak Detection
Assume the main suction line, skimmer line and dedicated suction line held 15 Psi but when we pressure tested the water feature (a 24” sheer) it did not hold 15Psi. We can reasonably assure this pipe is leaking and would then detect the leak by blasting the line with air and water or using audio detection technology. In this example we use our hearing device to pinpoint the leak.
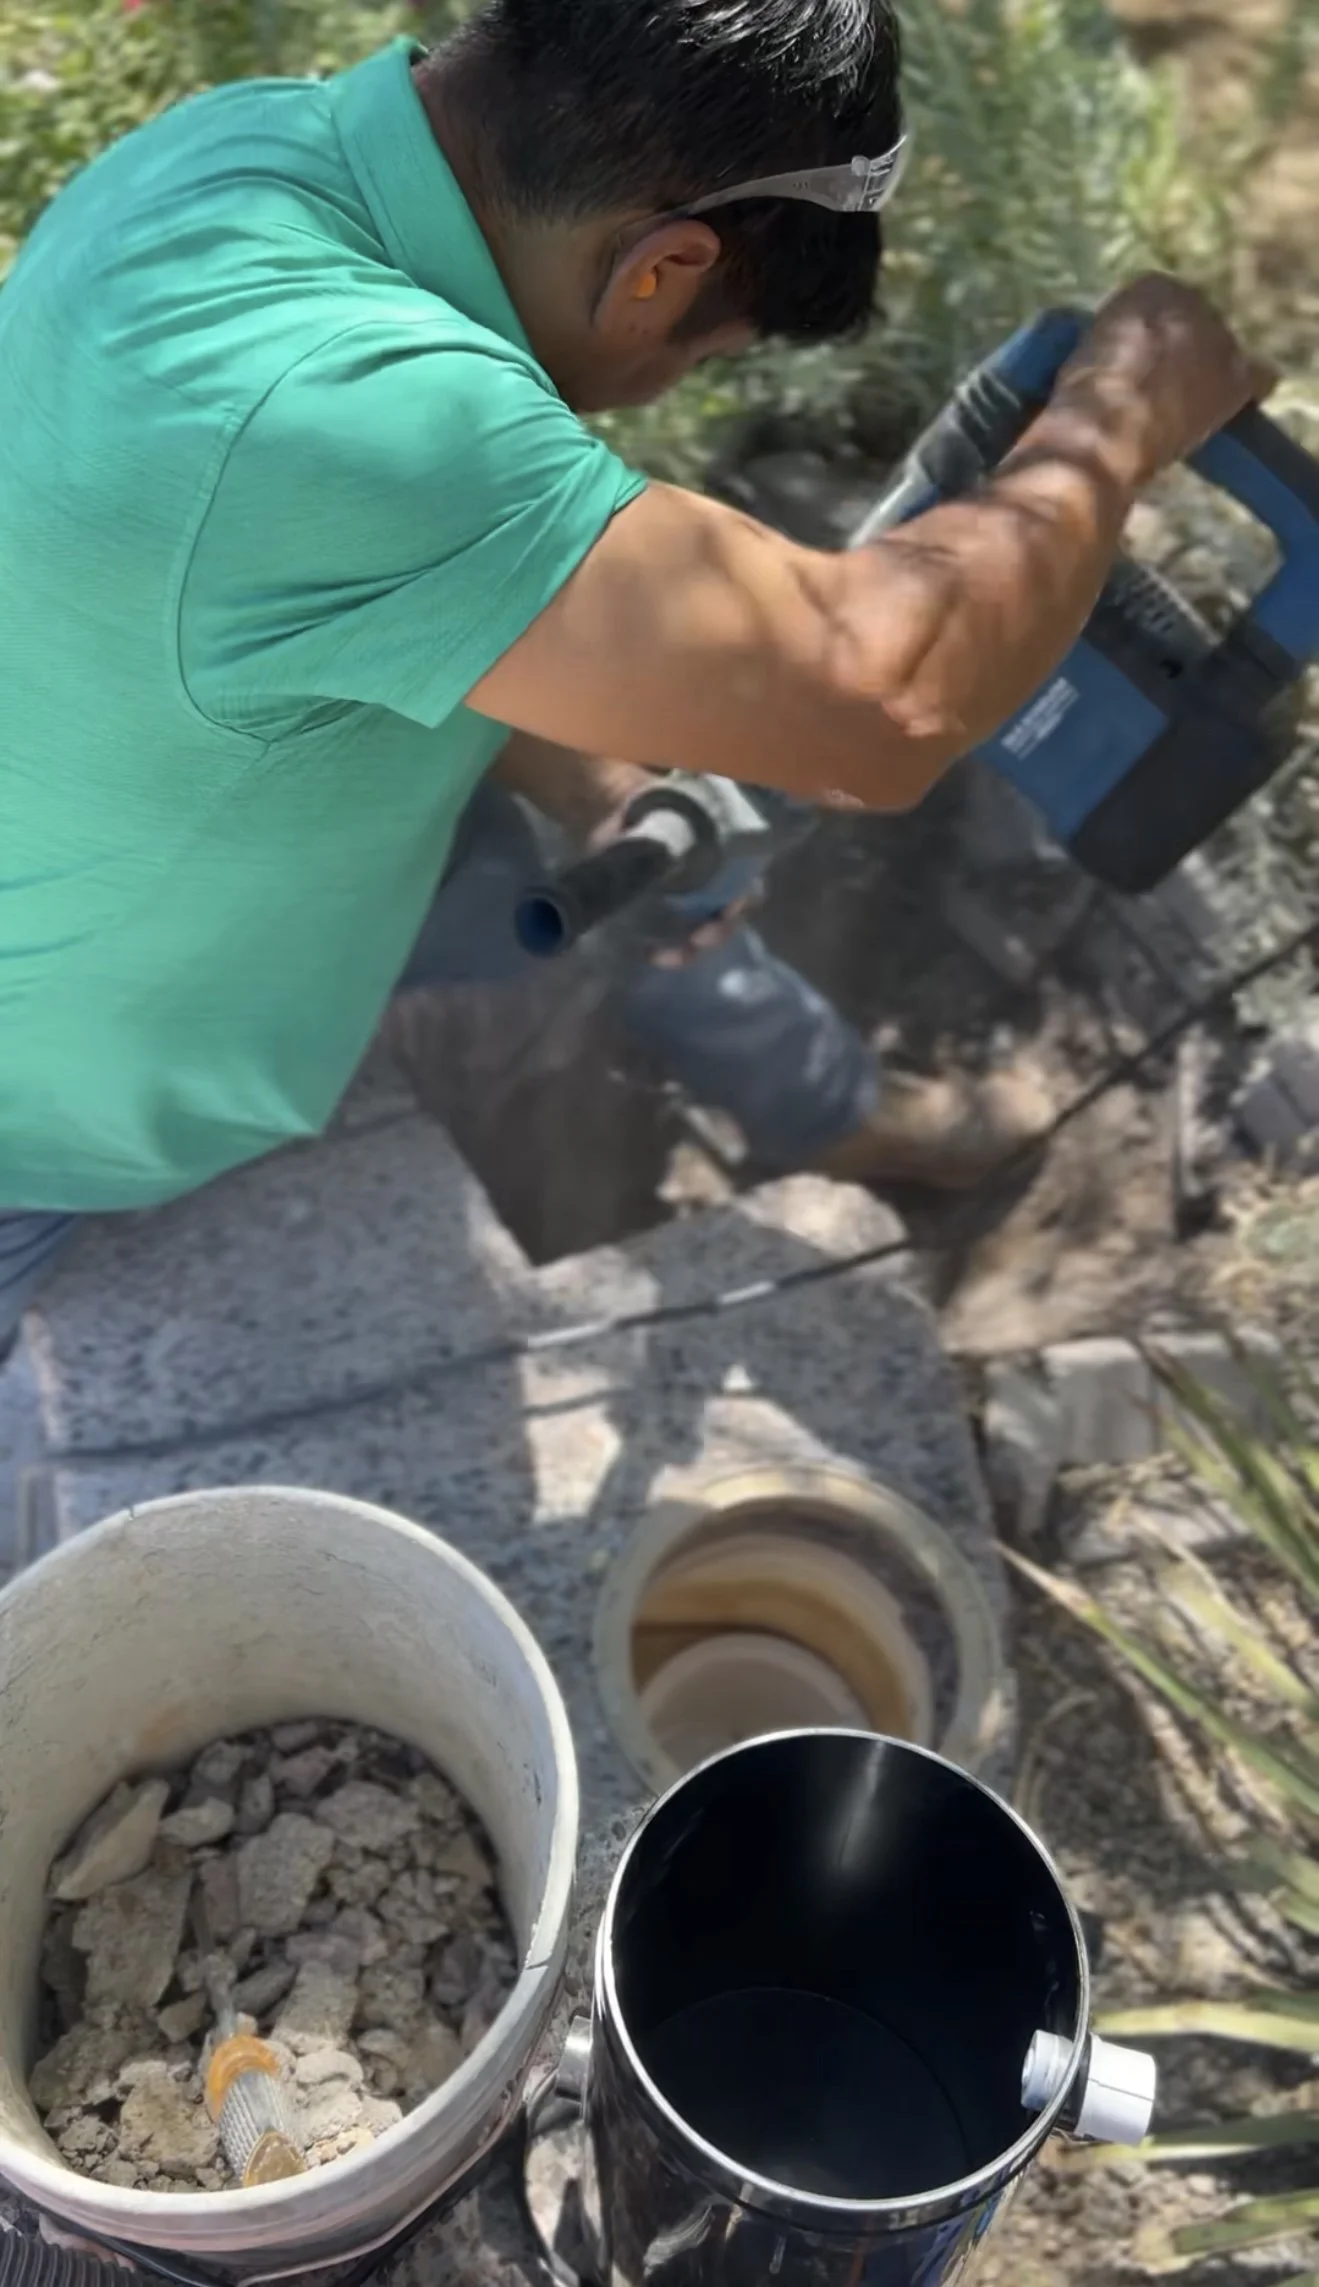
Exposing Leaks
Suppose the leak is detected under concrete/pavers/travertine, in such cases we carefully remove anything not in a fixed position. If under concrete we have the necessary tools to cut and demo out concrete to access the leak. In this example we saw cut and demoed out a square to access a leaking pipe, while also not damaging the skimmer that was to the side.
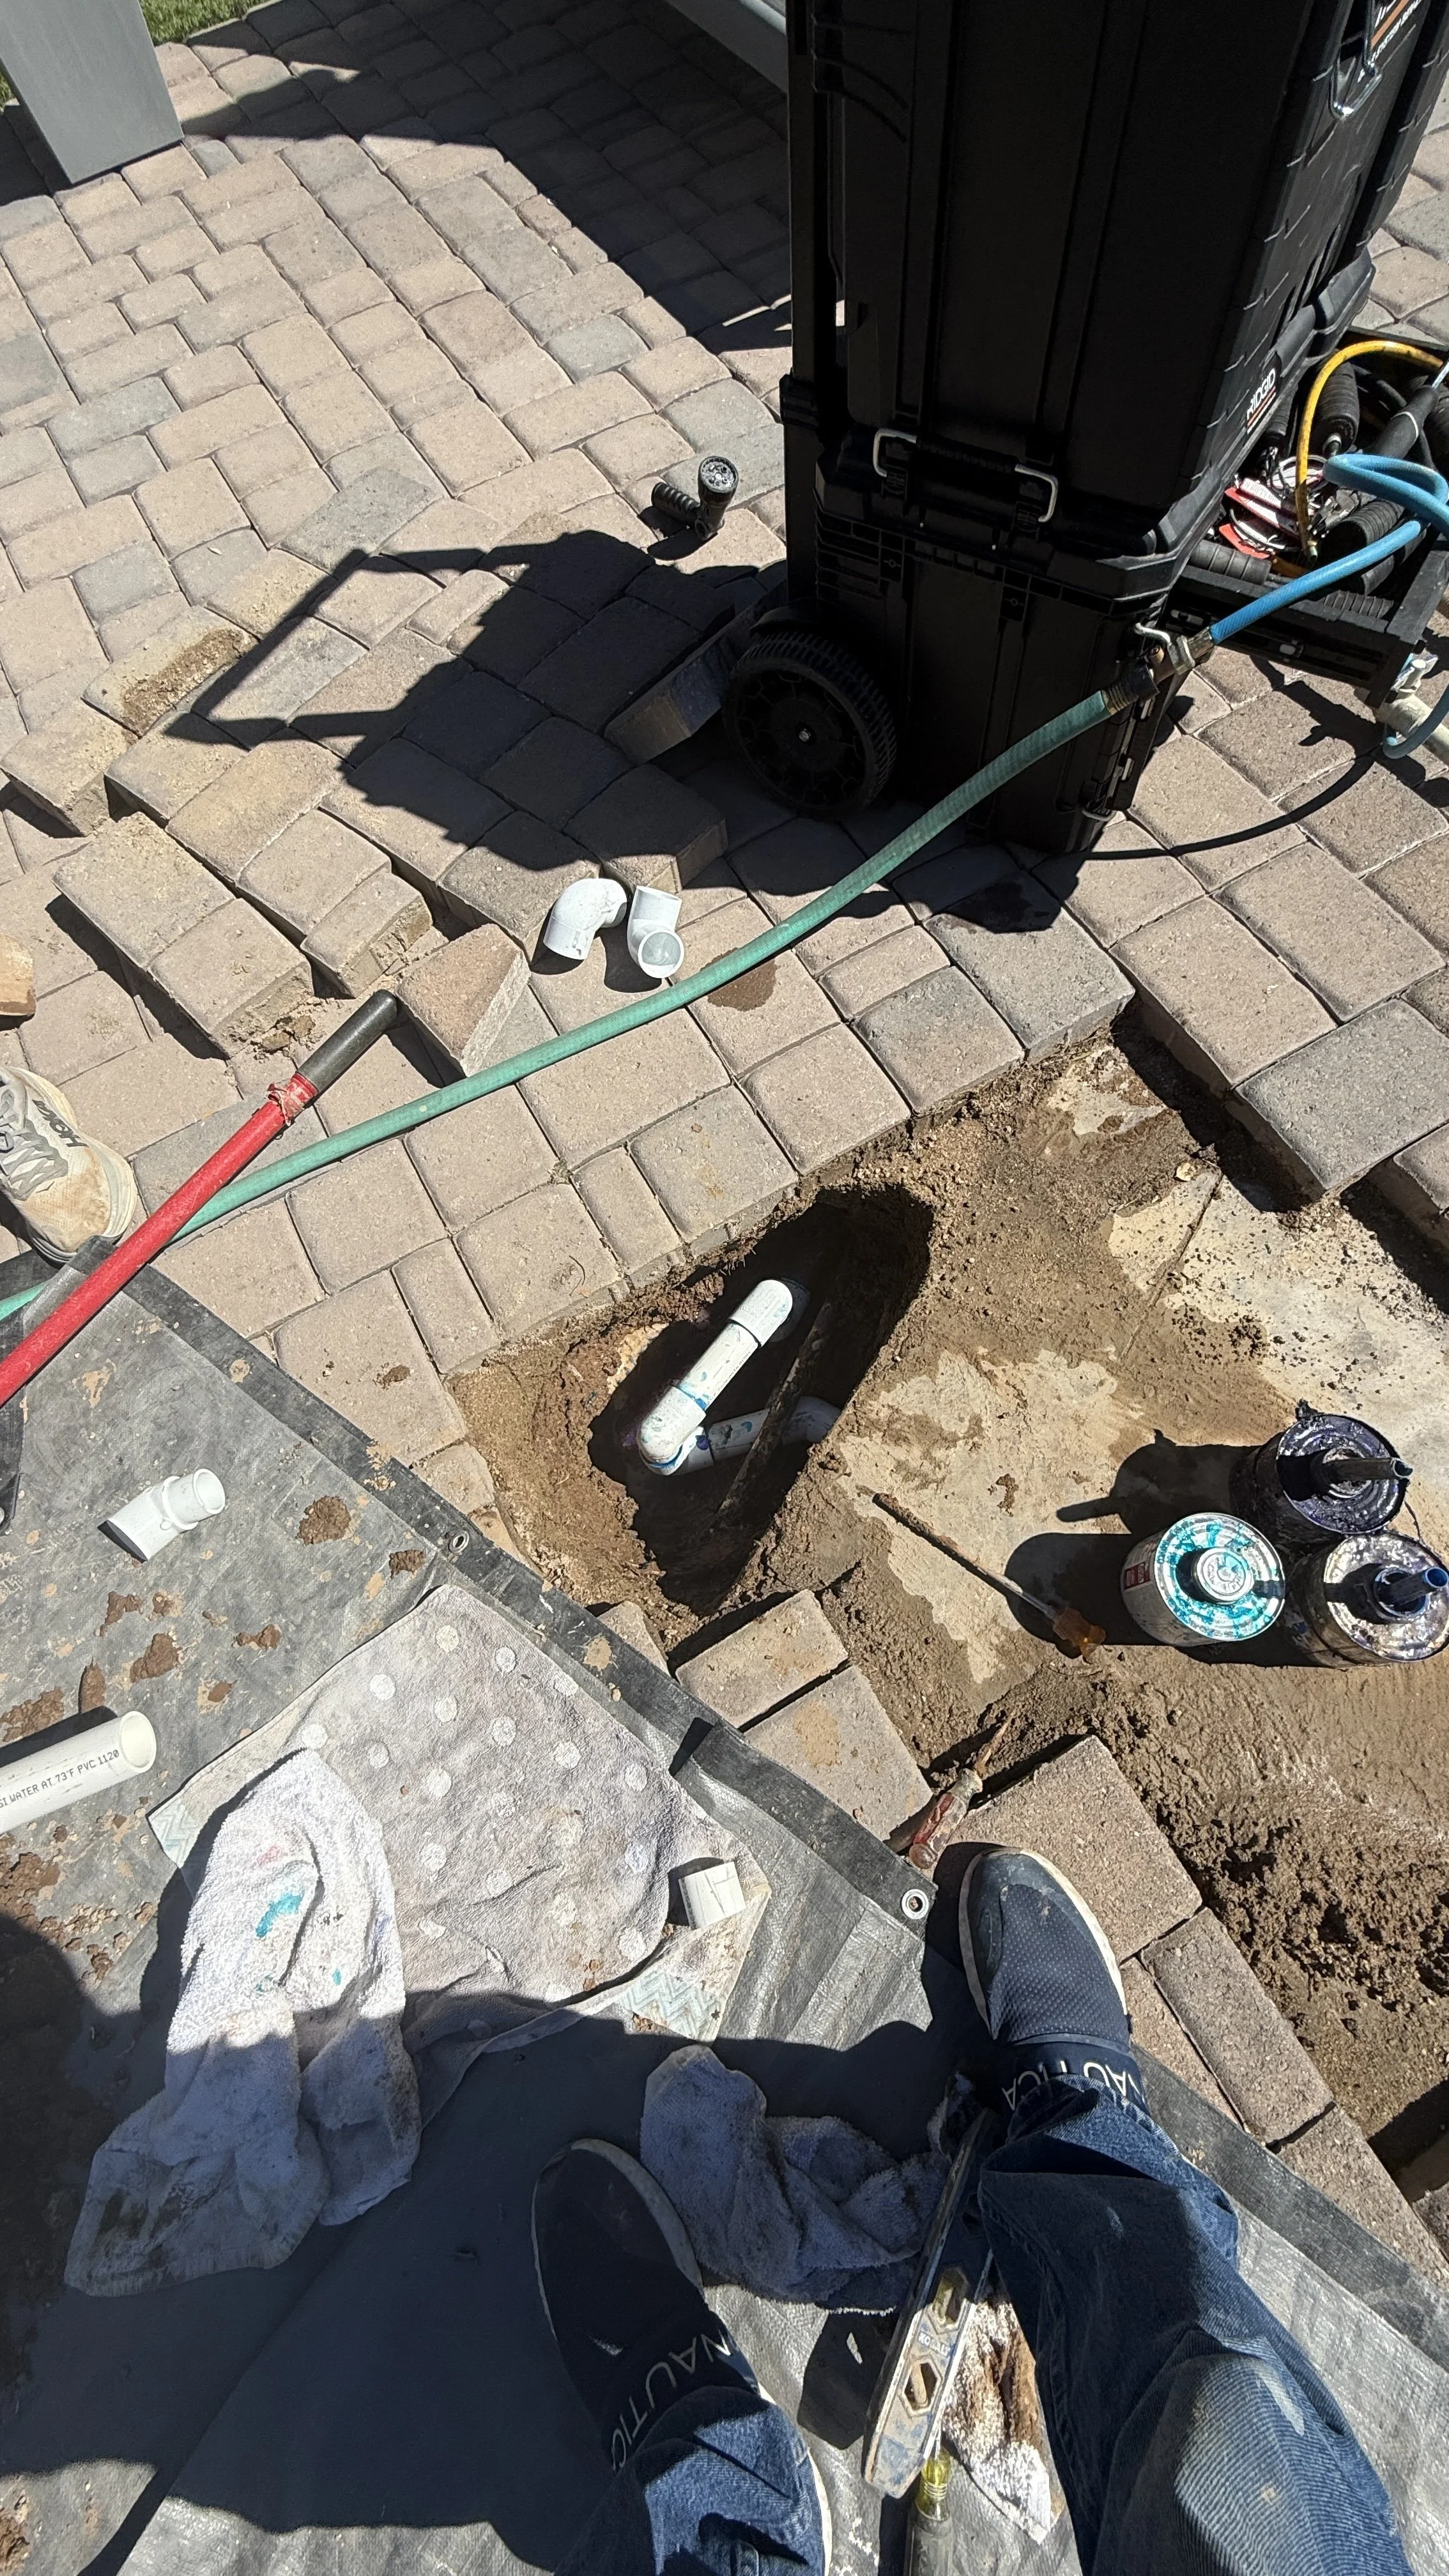
Fixing the Leak
Once uncovered we can begin with the actual repair. Sometimes even after you demo and uncover you may find that the leaking pipe is below other pipes. In this case the leak was under pavers. We repair the leak using heavy duty blue glue and redid the pressure test to ensure the leak we fixed was in fact the leak we were looking for.
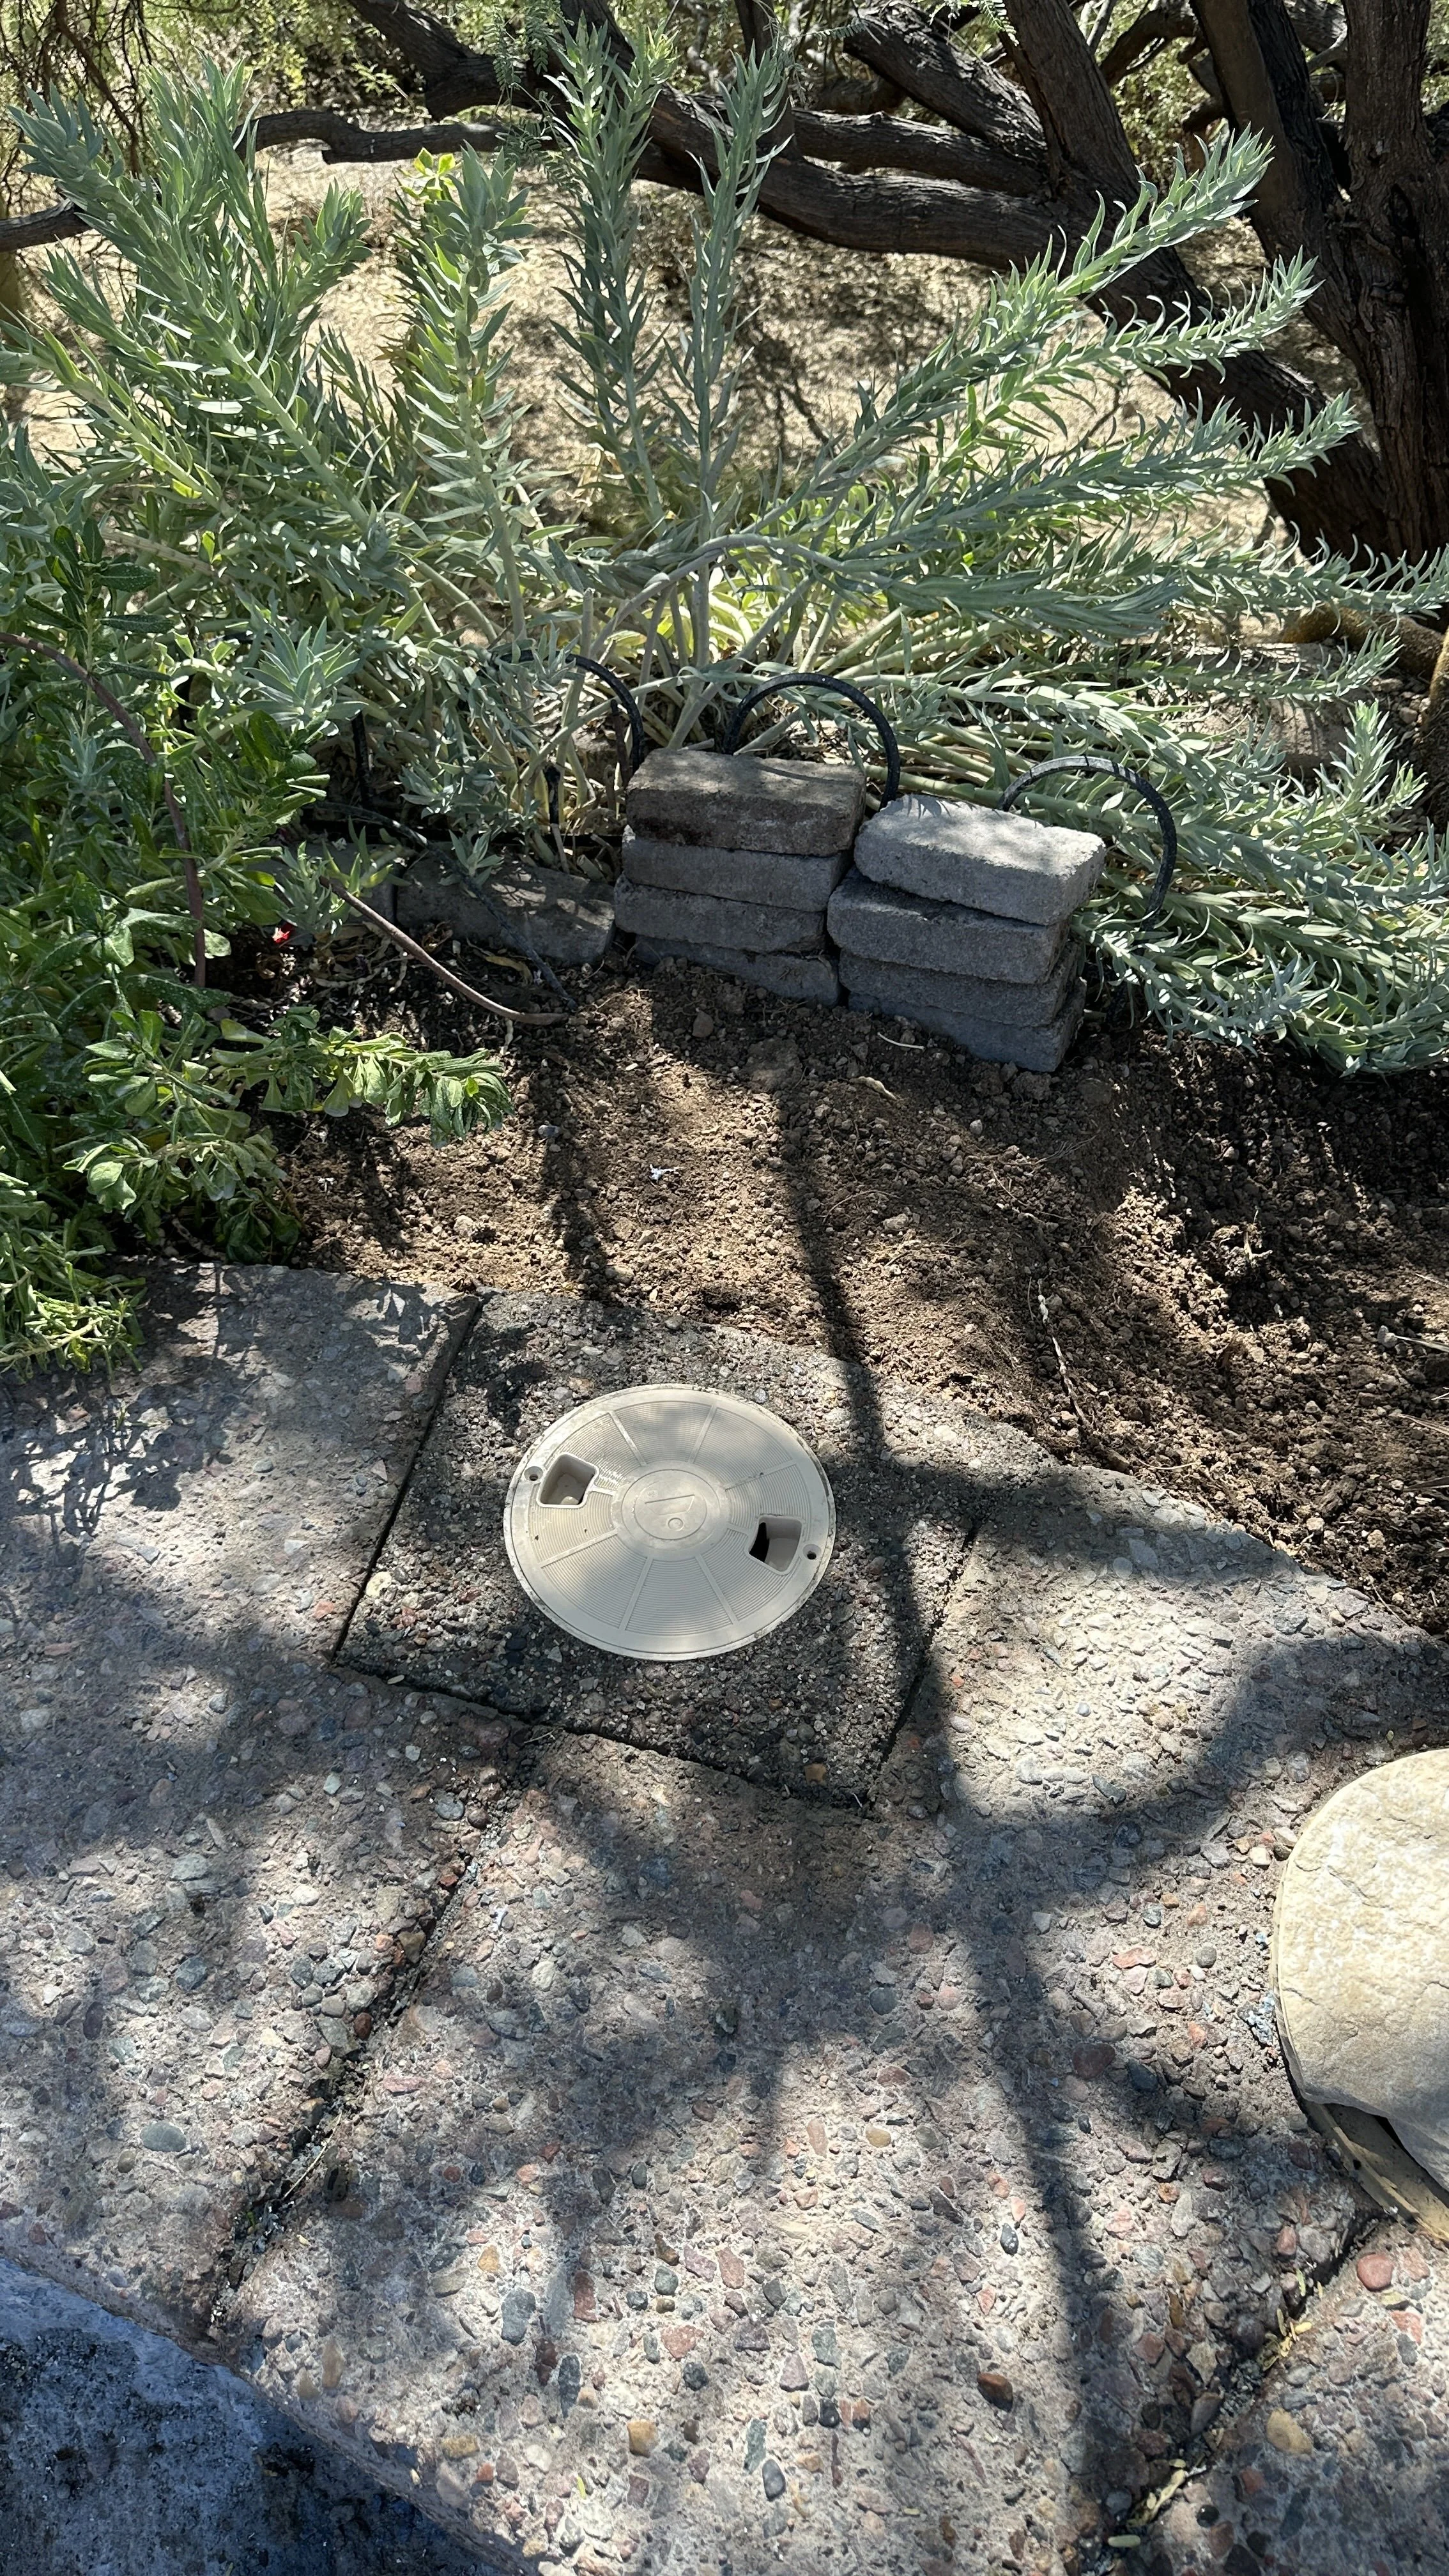
Patch Work
Once the leak is repaired and the system has been re-pressurized we can then pour back and patch up any areas we worked in. In this example we demonstrate we can match pre-existing texture. Whether it be pavers, travertine or concrete with a layer of acrylic decking, we can patch it up and leave it looking good as new. Or at least make it seem as if we were never there.